
1. Plug the modem AC-IN power socket into the building's power socket.
2. Plug the modem USB socket into the computer USB socket.
3. Plug the modem LINE socket into the building's phone line socket.

If you have a phone handset or fax machine on the same phone line as your ADSL, you need a double adapter and an ADSL line filter:
a. Plug the modem LINE socket into the double adapter.
b. Plug the phone's (or fax machine's) line socket into the PHONE end of the filter.
c. Plug the filter LINE socket into the double adapter.
d. Plug the double adapter into the building's phone line socket.

4. Put the ETHERNET/USB ADSL DRIVER CD into your CD drive.
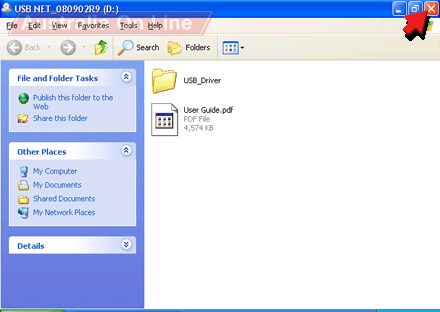
5. If you see this screen, click the Close button.
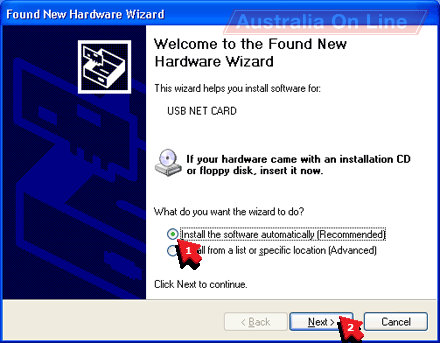
6. Click Install the software automatically.
7. Click Next.
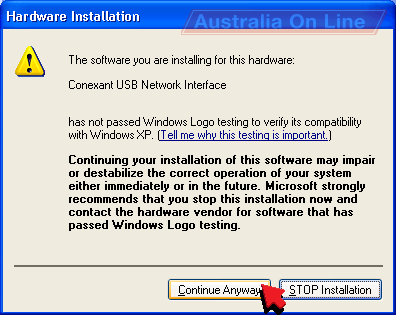
8. Click Continue Anyway.
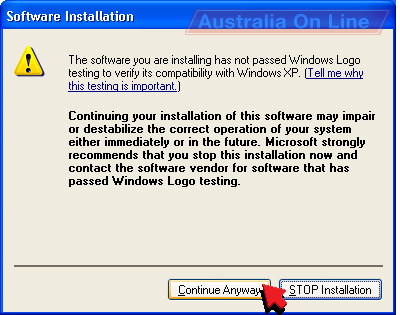
9. Click Continue Anyway.
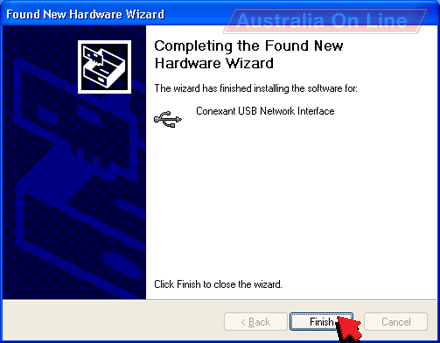
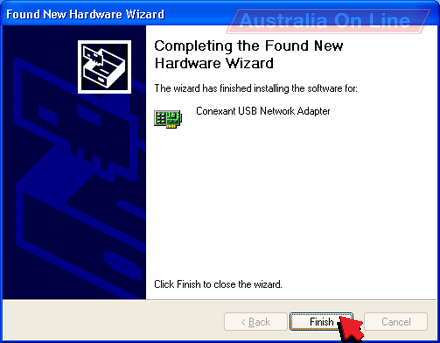
10. Click Finish.
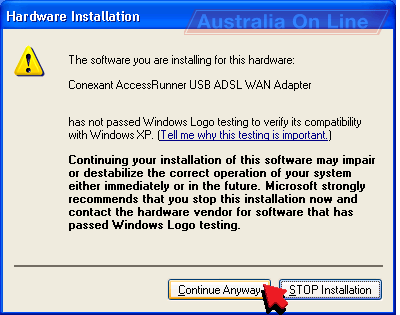
11. Click Continue Anyway.
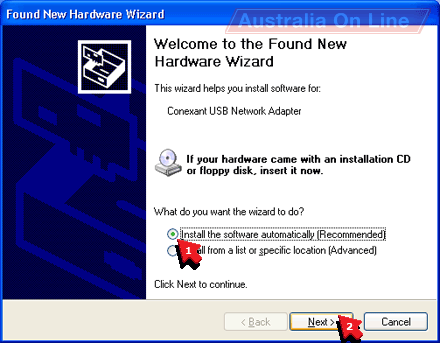
12. Click Install the software automatically.
13. Click Next.
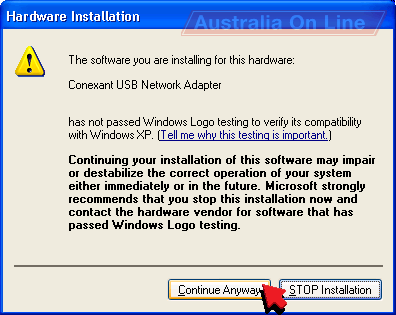
14. Click Continue Anyway.
15. Click Finish.
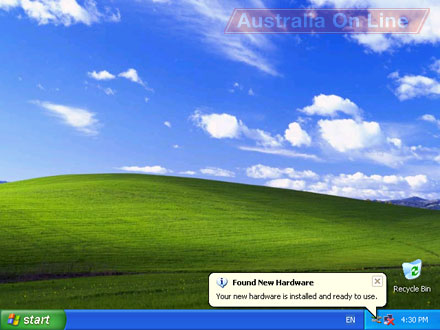
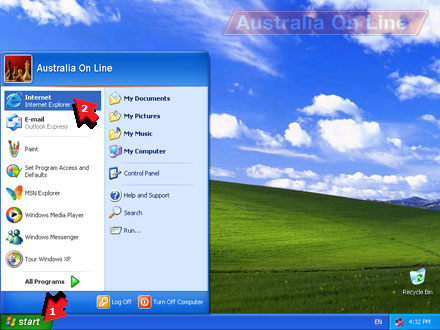
16. Click Start.
17. Click Internet.
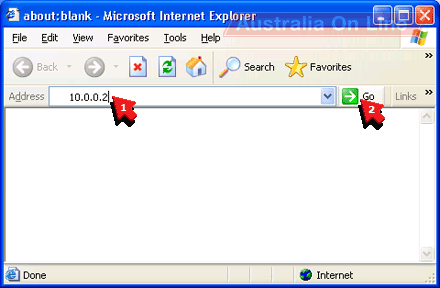
18. Type 10.0.0.2 into the Address box.
19. Click Go.
20. Type admin into the User Name box.
21. Type the password provided with your modem into the Password box.
22. Click Remember my password so that it is ticked.
23. Click OK.

24. Scroll down until you can see the Configuration section.
25. Click WAN.
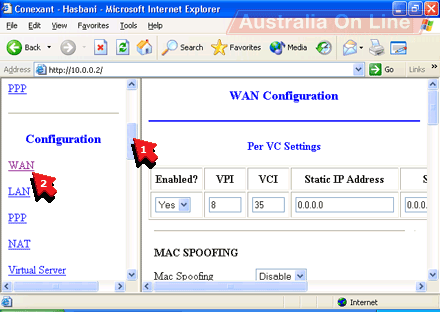
26. Type 8 into the VPI box.
27. Type 35 into the VCI box.
28. Scroll down until you can see the ENCAPSULATION box.

29. Click PPPoA VC-Mux in the ENCAPSULATION box.
30. Scroll down until you can see the Password box.

31. Type Australia On Line into the Service Name box.
32. Type your Australia On Line ADSL username into the Username box.
33. Type your Australia On Line ADSL password into the Password box.
34. Scroll down until you can see the Submit button.

35. Click Submit.

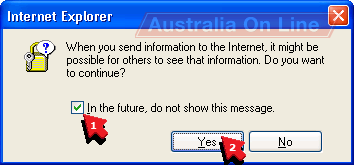
36. If you see this window, click In the future, do not show this message so that it is ticked.
37. Click Yes.
38. Click Save Configuration.

39. Click Submit.

40. Click the Close button.
41. Wait five minutes for the modem to reboot. You may hear some clicks from the modem.

42. You are now connected to the internet!


©2024 Australia On Line
Terms & conditions - SFOA
Go back to the Australia On Line front page.


